Everything below applies to iOS 17 and later. Wording shifts slightly between versions — "Cellular" in the US, "Mobile Service" elsewhere — but the order of the steps has not changed in years.
Before you start
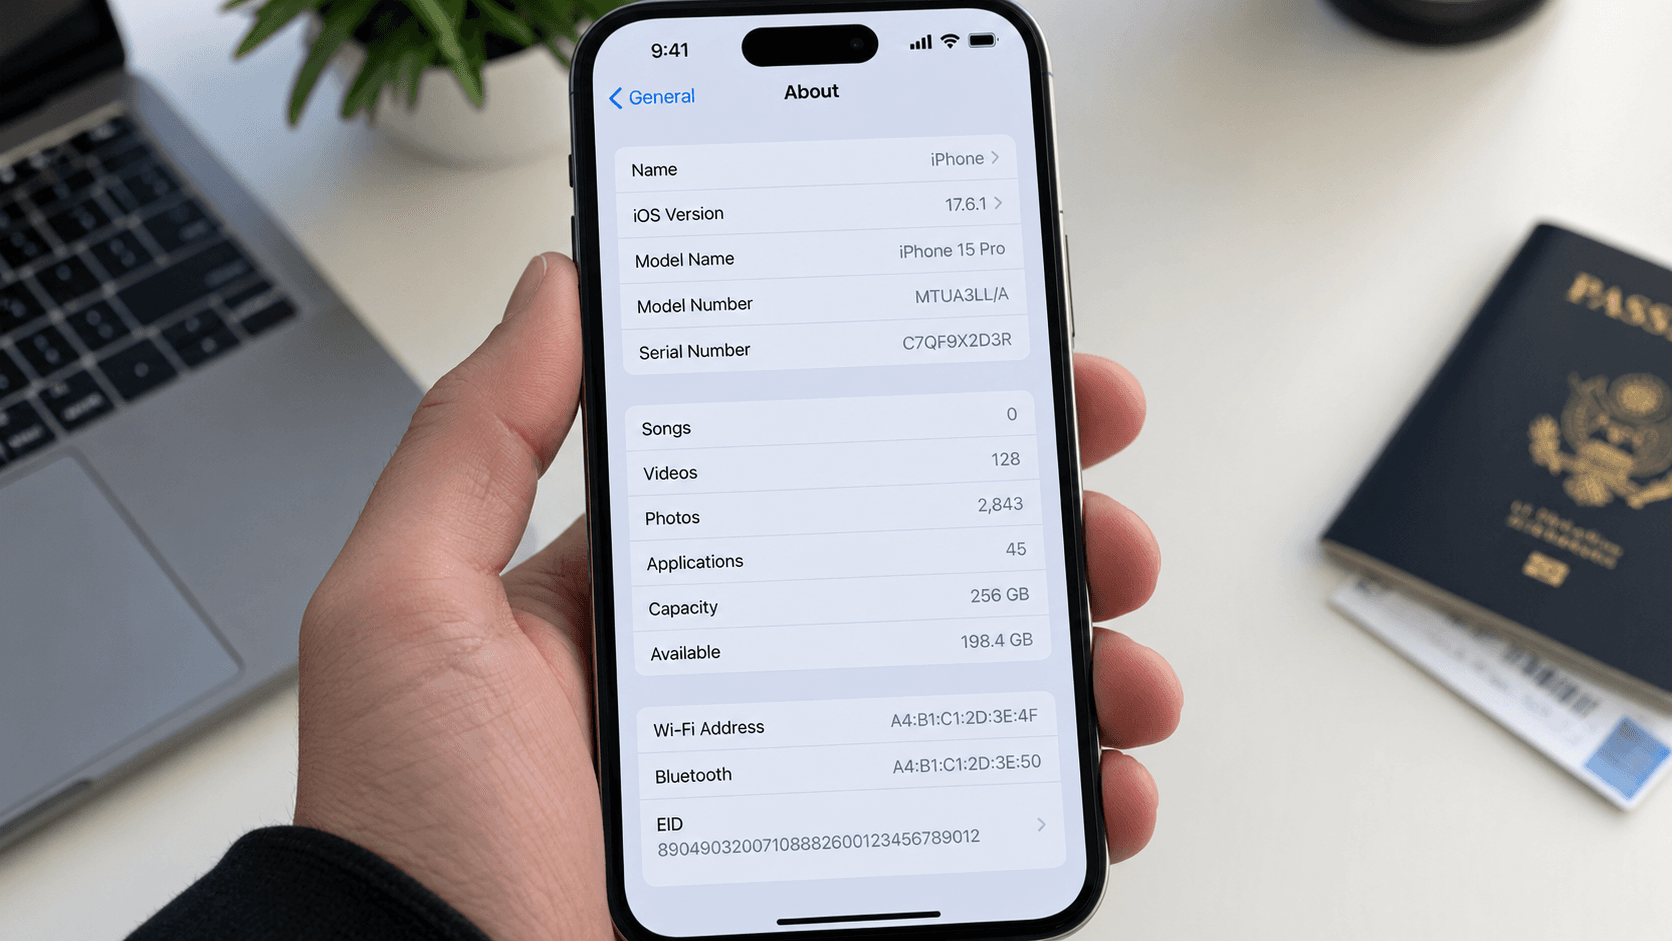
- An iPhone XS, XR or later. Check your model if you are unsure.
- A Wi-Fi connection. The profile is downloaded, so you need internet for the install itself.
- The phone must not be carrier-locked. If it came free on a contract, confirm it is unlocked first.
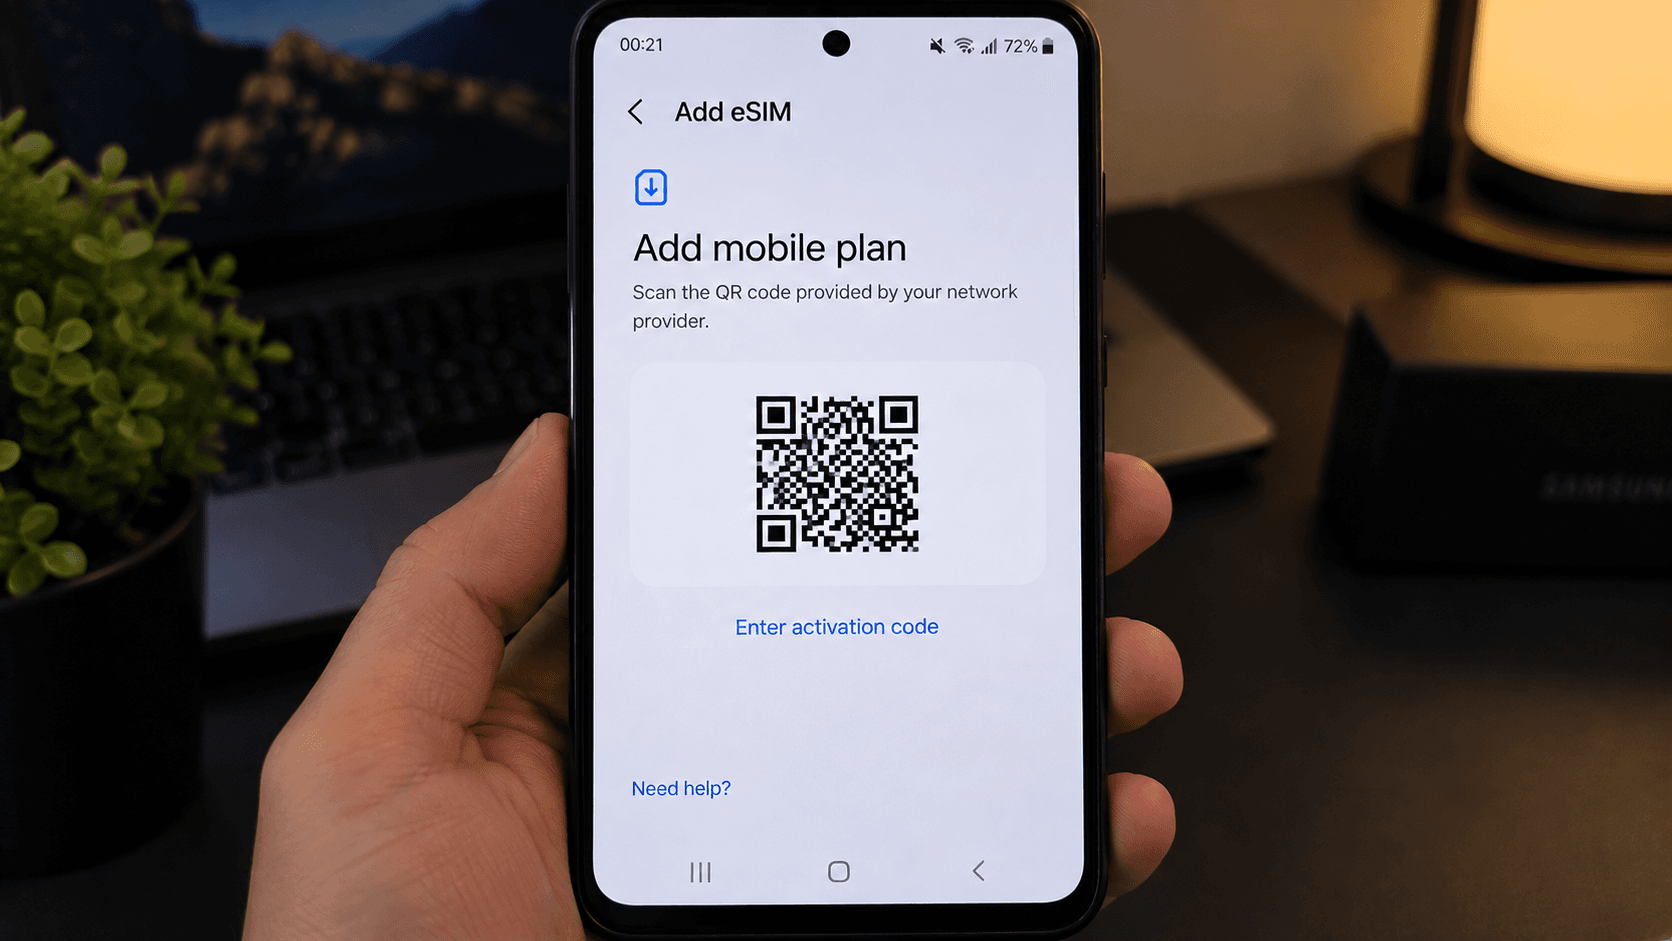
- Your QR code — on a laptop screen, a printout, or the install link in your delivery email.
Installing from a QR code
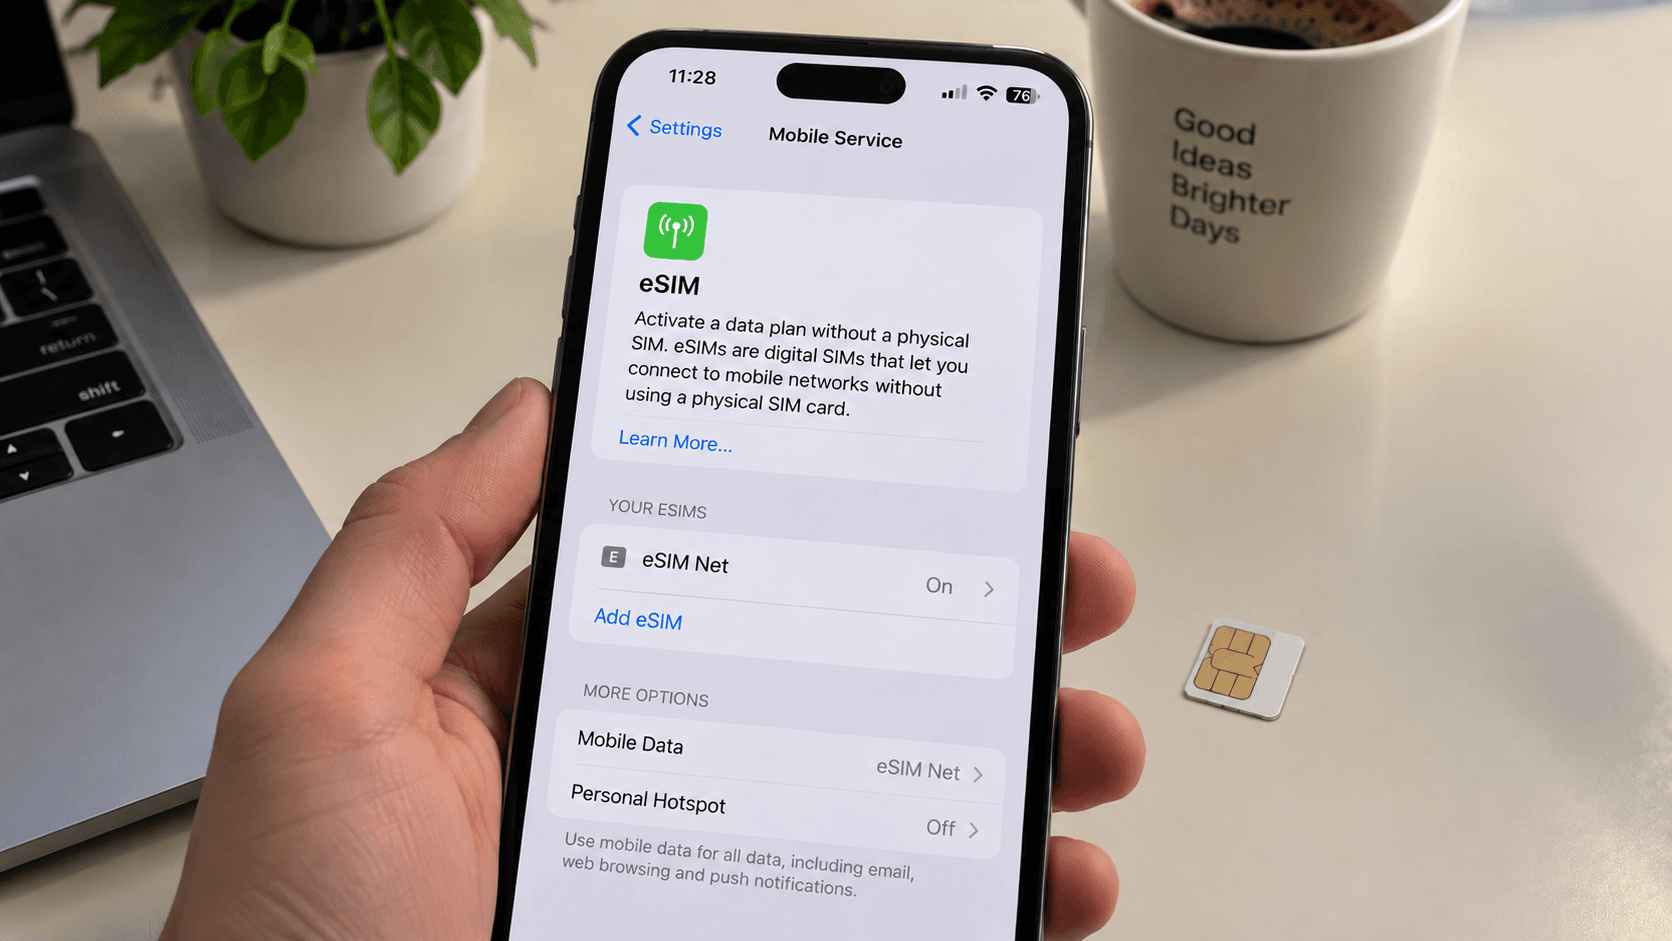
- Open Settings → Cellular (or Mobile Service).
- Tap Add eSIM, then Use QR Code.
- Point the camera at the QR code. The phone reads it and shows the plan it is about to add.
- Tap Continue, then Add eSIM. The download takes a few seconds.
- When asked, give the line a label. Name it after the trip, not "Secondary".
- Choose Primary for your usual line — calls, texts, iMessage.
- For Cellular Data, choose the new eSIM. Leave Allow Cellular Data Switching off.
That last setting matters. With switching on, the iPhone is free to fall back to your primary line when the eSIM has a weak moment — which is exactly the moment you would be roaming at full rates.
Installing without scanning
If the code is on the phone you are installing to, you cannot scan it. Two ways round that:
- Use the install link. Tapping it opens the eSIM setup screen directly. This is the simplest route and needs no second device.
- Enter the details manually. On the Use QR Code screen, tap Enter Details Manually and paste the SM-DP+ address and activation code from your delivery email.
What to do when you land
- Take the phone out of airplane mode.
- Open Settings → Cellular and confirm the travel line is on.
- Turn Data Roaming on for the travel line. It connects through partner networks, so it needs it.
- Turn Data Roaming off on your home line, unless your own plan covers the country.
- Give it a minute. The first registration on a foreign network is not instant.
If it does not connect
In order, and stopping as soon as it works: toggle airplane mode for ten seconds; restart the phone; check that Network Selection is set to Automatic; then set it to Manual and pick a network by hand. Full detail in what to do when an eSIM will not connect.
One thing not to do: do not delete the eSIM. A deleted profile generally cannot be reinstalled from the same QR code. Almost every problem is a setting, and deleting removes the thing you would have fixed.
Managing it afterwards
Under Settings → Cellular each line can be turned on and off independently. Switching the travel line off at the end of a trip stops it using data without removing it — useful if you are going back, or if you plan to add more data later.